How to setup an
USB-AGC counter
Setup the Trax TTWeb software normally and after
the software is completely setup, follow the setups below.
1.
Plug
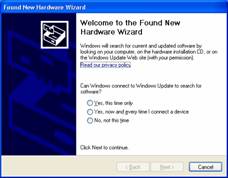
in USB serial cable converter to your computer If the USB converter is plugged
in, you should have a screen that is asking for the driver; it looks like this.
You want to select the “Yes,
this time only” option then hit “Next.”
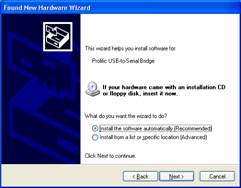
Then you will get the next screen at this time. Please ask the person at
the PC to insert the Mini CD that came with the hardware labeled “Driver”
(its blue). And hit “Next.”
It should now automatically search for the driver.
You might get this screen if so hit “Continue Anyway” then
“Finish”
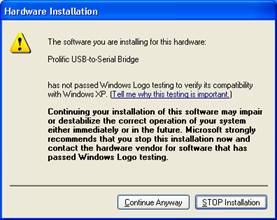
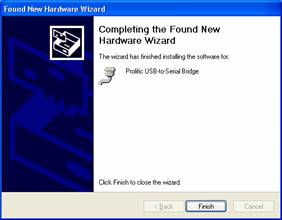
Now you have successfully installed the windows
driver for the USB – Serial Converter. Great
Job!!!
After this has been installed you will be should be
back to the normal desktop, if not minimize any open windows.
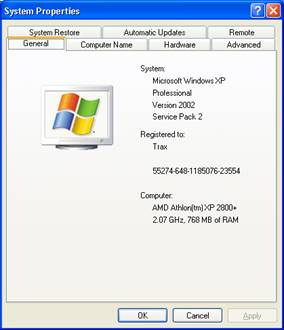
Go to the “Start” button in the bottom right
hand side of the screen and go to the “Control Panel” once this has opened
find the “System” icon and double click on it.
It should look like this. And change to the “Hardware” tab and then
click on the “Device Manager” button.
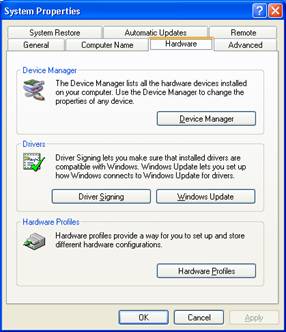
Now you should have this screen and you want to hit
the “plus” sign next to “Ports (COM & LPT)”
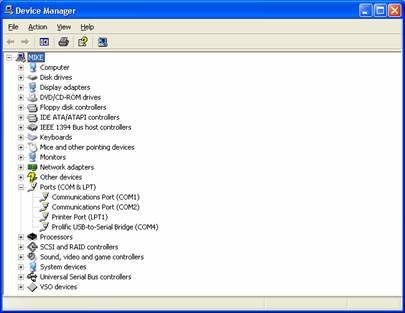
Now you want notice on the “

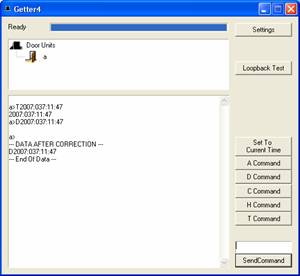
Now you want to go to the Traxsales folder
(c:\program files\traxsales) and open the “getter4.exe” program.
It will open but you wont see any door counter yet.
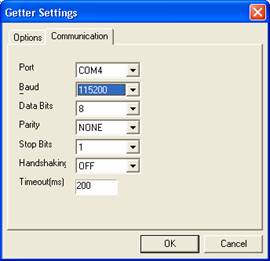
Go to the “Settings” button then the “Communications” tab it will
now look like this. And remember, the com port you saw earlier, you will need to
change to it by hitting the drop down next to “Port” for instance mine is
“Com4” but it might be different for you. Then hit the drop down under
“Baud” and change it “115200” it should look like this.

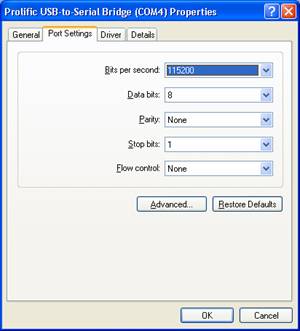
Now remember your com port might be different. If
you don’t remember what it was, go to “Control Panel”/”System”/change
to the “Hardware” tab/ “Device Manager” button/hit the “plus” sign
next to “Ports” and you should
see it next to the “